Roblox Studio: a practical workflow for AI textures and game objects
A manageable starting point for creators: choose one object, define its look and check the result inside your game.
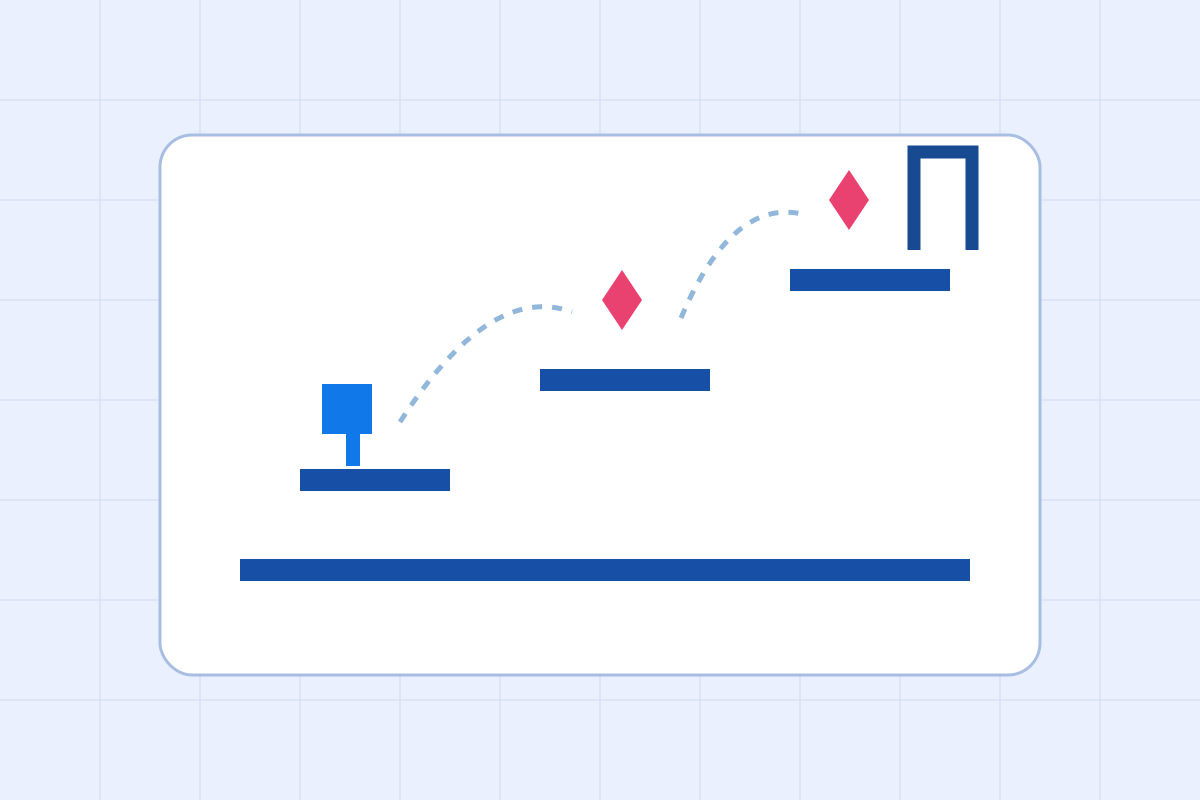
Start with one object.
Define the look and acceptance criteria first.
Check the chosen version inside the actual level.
The short answer
A small object is enough to start: a crate, a table or a door. It lets you judge whether a new look fits the scene without rebuilding an entire world. This guide proposes a controlled workflow based on documentation. We have not tested the features ourselves.
The tools Roblox describes
The September announcement covers improved texture generation, segmentation of imported meshes and a choice of four image previews for generated models. Reference images can also be supplied. These features provide the technical starting point for the proposed workflow; practical acceptance remains your job.
Make before-and-after comparisons useful
Take screenshots from the same camera position under the same lighting. Changing several properties at once makes it harder to see which change helped. Adjust the look first, then other details. Keep the original object so that an unsuitable result is easy to reverse.
Your practical comparison
What you need
You need Roblox Studio with access to the described features and a copy of your project. Choose an object or material you own or may edit. Decide which scene and target device you will use to check the result.
- Save a project copy. Pick one simple object and note what should stay the same, such as its shape and size.
- Write a short brief for the intended look. Specify material, palette and details that fit the surrounding scene.
- Generate a texture for the selected mesh. Roblox documents /generate_texture in Assistant for this. Compare the result with the original object.
- If separate components are needed, plan their names and functions first. Roblox documents /segment_mesh for imported meshes with up to five named parts per run.
- Place the object in the actual scene. Check lighting, scale, visible edges and interaction. Include a collision check when the object is an obstacle.
- Keep only a version that meets your criteria. Record changes and save a new project version before editing more objects.
Example to get you started
Our example brief: “A small wooden crate for a friendly workshop level. Light wood, subtle wear, no lettering. Keep its shape and size.” Acceptance criteria: the crate remains easy to recognize in the scene, does not obstruct the intended path and fits the surrounding palette.
Things to consider
The underlying announcement is dated September 23, 2026. Check availability in your own Studio. An attractive surface still needs geometry, collision and gameplay checks. No hands-on performance test or guarantee of individual results.
Read next
An AI world is not yet a finished game
Using Project Genie as a starting point: separate an explorable world from a game prototype you can evaluate.
Create a game with AI: build Key Room step by step
A working browser game to play and download, with real screenshots, sample prompts, explained code and checked rules.
Make a Unity game with AI: workflow and costs
Use AI for focused C# tasks, build a three-crystal level and separate engine, assistant and asset costs.
Was this article helpful?
Your feedback helps us improve our articles.
Votes are counted per language version. Repeat voting is limited; totals do not necessarily represent distinct people. Privacy